Members of the skincare community may boast of a fully-stocked, multi-step routine, but that’s not realistic for everyone. Particularly so during the early hours of the day, when you may be throwing together breakfast for hungry toddlers, rushing to a 9-5, or attempting to squeeze in other morning rituals like exercise and to-do lists.
That being said, a morning skincare routine is just as beneficial as a bedtime one. This is the time to reset your skin after a night of sleep—especially vital if you were too exhausted to wash your face before bed—and set your complexion up for success before exposing it to a day filled with bacteria, screentime, stress, and UV rays.
Follow our guide to applying your morning skincare below. While we devised a complete routine, there are some optional steps you can add in or remove based on your particular skin type and concerns.
HOW TO LAYER YOUR MORNING SKINCARE PRODUCTS

STEP 1: CLEANSER
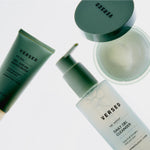
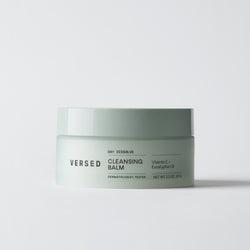
Time to start with a clean slate (literally). Wash your face with a cleanser for 30-60 seconds, working in circles to remove dirt and oil from troublesome areas like the chin, nose, and forehead. A soap-free cleanser made with skin-friendly ingredients, like our Antioxidant Cleanser, is beneficial for all skin types. If you’re acne-prone or oily, reach for something like Keep the Peace, which is made with 1.5% salicylic acid.
If you have a dry skin type or did complete a bedtime skincare routine, you may not need to thoroughly cleanse your skin. It’s still important to wash away any potential impurities that snuck in overnight however, (pillowcases can harbor bacteria and dead skin cells) so quickly brush them away using micellar water or a splash of water. Or, skip to step 2 and cleanse with toner.
STEP 2: TONER (OPTIONAL)
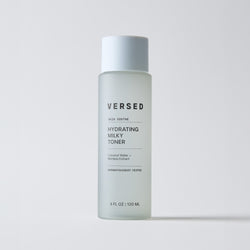
If you’ve ever washed your face, but still noticed some residue while patting dry with a towel, then you already understand the benefits of a toner. A good toner not only sweeps away any remaining impurities but also sets the stage for the rest of your skincare routine by rebalancing skin pH (which can get thrown off just by rinsing with water) and infusing it with good-for-skin nutrients. As mentioned above, a toner (like Baby Cheeks) can replace a morning cleanse for dry skin types, too.
This is also a good time to exfoliate away dead skin cells before applying serums, which will penetrate much more effectively when pores are unblocked. Use the Daily Brightening Toner to do just that while evening out tone.
STEP 3: SERUM OR TREATMENT
Now that skin is fully prepped and ready, apply targeted serums and treatments that are specifically tailored to your skincare concerns. Dehydrated or dry skin? Try the Moisture Maker Hydrating Hyaluronic Serum. Got dark spots? Use tranexamic acid or vitamin C to brighten up dullness and strengthen the barrier. Acne-prone? A Clarifying Serum made with niacinamide can help balance things out.
STEP 4: EYE GEL (OPTIONAL)
While we recommend reserving your thicker eye balms and creams for the nighttime, those with dark circles and undereye bags can reach for a cooling gel to energize tired eyes. Gently tap on our Brightening Eye Gel, starting from the inner corners and moving upwards toward the brow bone, to flush out any trapped liquid that contributes to circles and bags.
STEP 5: MOISTURIZER
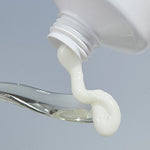
Calling all oily and acneic skin: don’t skip this step! Moisturizer helps seal in all that goodness, while also locking in the hydration you’ll need for the rest of your day. For the daytime, choose something lightweight like Dew Point. Its cool, jelly-like texture sinks immediately into the skin so you can go about your day without any grease. Dry skin may prefer something creamier, like Skin Soak.
STEP 6: SUNSCREEN
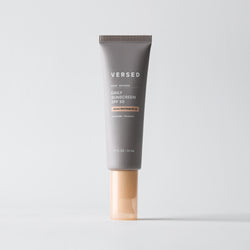
If you apply anything in the morning, make sure it’s sunscreen. Protecting your skin from the sun is important for guarding against cancer, burning, and damage (like dark spots and premature fine lines) year-round. Opt for a mineral broad-spectrum SPF that also fends off free radicals from blue light and pollution, too. If you’re heading out for the day, don’t forget to bring your tube along with you to apply every 2 hours, as recommended by the FDA.
STEP 7: LUMINIZING GLOW DROPS (OPTIONAL)
As a bonus step, add a little bit of filter-less glow to your routine with Mood Lighting. Choose between Sheer Golden and Sheer Bronzed (or mix the two) and smooth into the skin to blur away imperfections and enhance skin’s radiance. If you wear makeup, you can also mix a few drops into your foundation, too.
Read how to build an effective nighttime skincare routine next.
